By Mike Drisgill
Backing up your Windows computer is the only way to recover data when disaster strikes. Backups should follow the 3-2-1 rule:
- 3 different copies
- 2 different formats
- 1 copy off-site
Following this rule you should always have a copy of your data safe from disaster. Having 3 copies of your data allows for better chances of recovery if there is an infection in one copy or if another is corrupted. Having 2 different formats of your data is important to ensure that your data can be recovered, we do this because different formats have their own strengths and weaknesses. The last part of the rule means physically taking a copy of your backup offsite; fires, floods, and burglars have all caused data to be irretrievable, and for some businesses it can mean never opening their doors again. Storing data in another location, safety deposit box, or on the cloud are all acceptable offsite options.
So how do I start my backup?
If you are using an external backup drive connect it now. If you don’t have one, we recommend a Western Digital external hard drive.
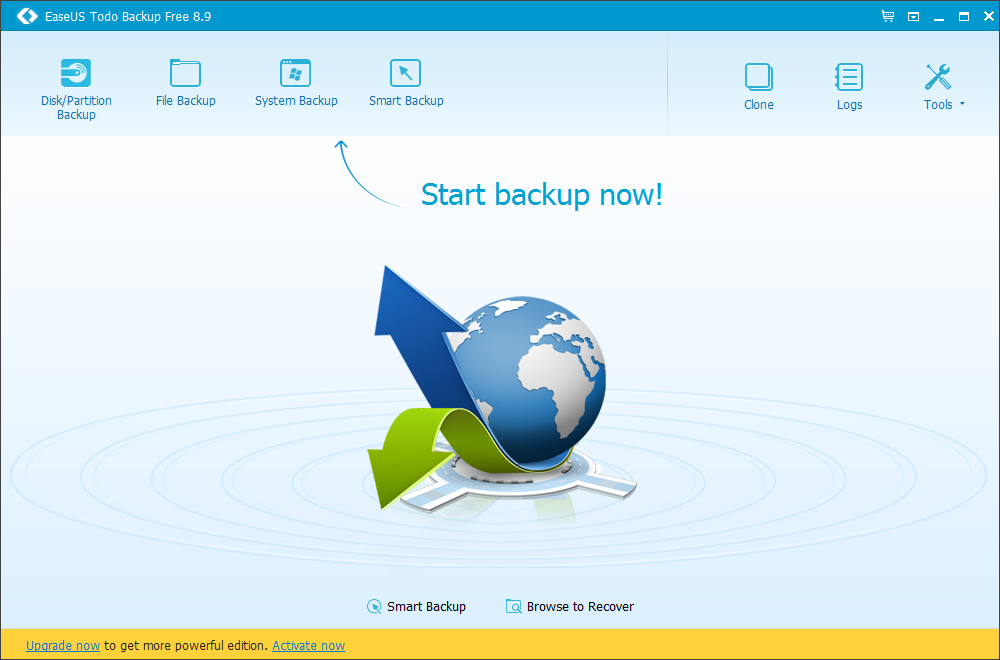
This tutorial will give instructions for EaseUS Todo Backup. The start page should look similar to the image below.

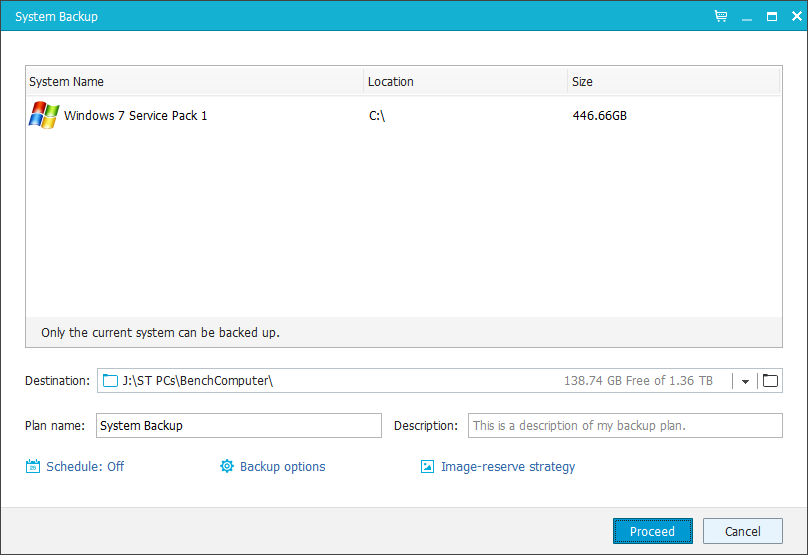
For this backup tutorial we will be doing a System Backup, so choose the third option in the top menu “System Backup”, the one that the arrow is pointing to. The image below should look close what you will see when you choose the System Backup option.

Allow me to breakdown this screen, specifically the bottom section. The image below is the same as the one above but focused only on the bottom section. The first option we see is “Destination”, the default location is the one that was selected during the installation of the product. Destination of course refers to the area we will place the backup. It is not wise to backup your machine to itself, for this we recommend having an external drive. It should be kept as far from the computer as possible when you are not using it. If you would like to change the destination that is in there by default, click on the folder image all the way to the right hand side of the screen. It will open a window that should look familiar to Windows users. Navigate to the backup drive and select “OK”.
The next section is named Plan Name. This is usually defaulted to “System Backup”, we recommend this be renamed so that when it is used in the future, it is obvious which backup to run for which machine. Do you have a name for your computer? Maybe you call it “The white one”, “The Laptop”, “Mike’s Computer”, “The Living Room Computer”, if you don’t have a name for it, you should name it and put that name in the Plan name after ‘System Backup’. Maybe it is your only computer, but in the future it may not be, lets plan for the future and make sure we can understand where this backup is from. Avoid putting a date in the plan name, obviously a good choice today, but down the line your backups for February may still be labeled as November and this gets confusing.
Next to “Plan Name” is the field for “Description”, This is optional, you can use this if you’d like to add additional information.

If you wish to set your backup to run on its own without needing to do anything, you can click on the bottom-left link that says “Schedule: Off” (Note: if you schedule a backup you must have your computer on and the backup destination must be reachable from your computer to work. If you leave your backup destination on-site and on a schedule you should strongly consider having another drive for manual backups that stays off-site; switch the two drives from time to time to comply with the backup rule stated above). When you click on the schedule page you will see various options to set the backup as often or as little as you like; try to schedule it at a time your computer will be turned on but won’t be seeing much use. Remember that you will lose or have to recreate data between your last backup and any unforeseen data loss; keep this in mind when deciding how often to backup your computer. The picture below shows a monthly scheme with two backups which are scheduled 2 weeks apart.

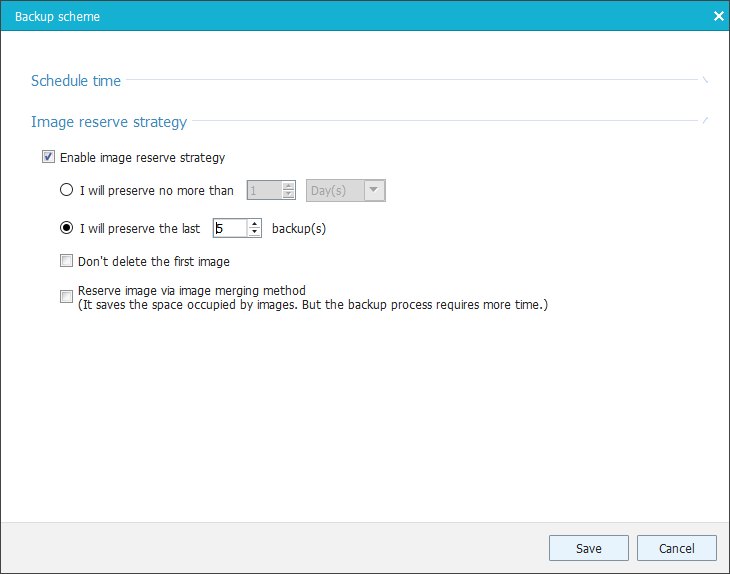
The next option, ‘Backup options’ has a fairly decent default setting. I do no recommend changing any settings in this area unless you know what you are doing. Finally, we get to the last set of options, “Image-reserve strategy”. If you have space on your destination drive, we recommend that you use the “Image Reserve Strategy” on the schedule page. This will allow you to save multiple copies of your backups so that you may more easily comply with the backup rule listed above. Keeping a few copies gives you more options for restoring your data. It is always better to have more than enough options for restore than not enough.

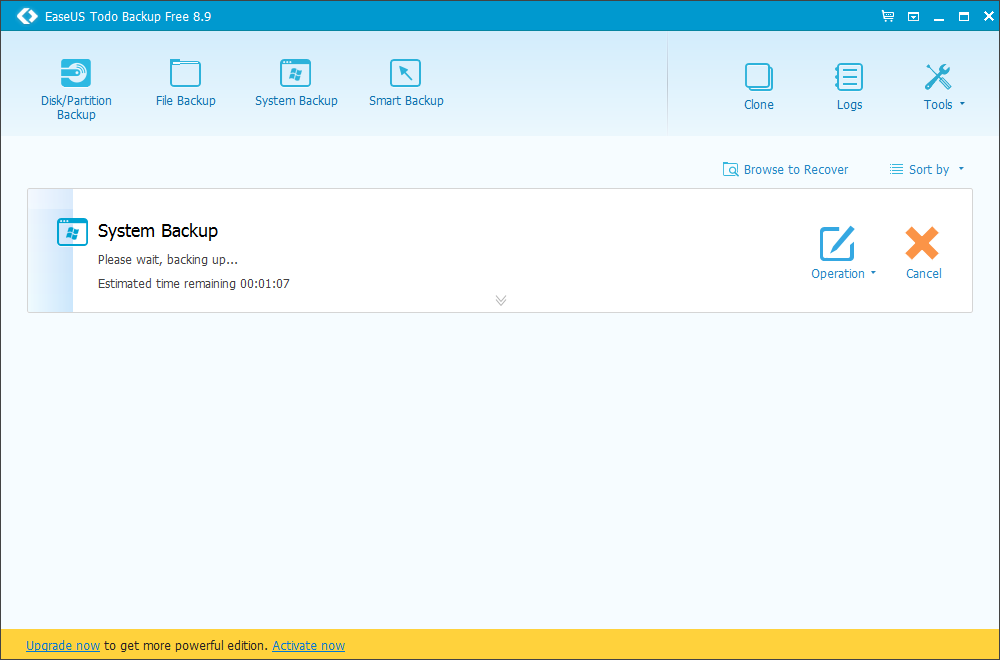
Once everything is set the way you like you may click Proceed. Your backup should now start processing, you may leave it to do it’s work and check on it to verify it is continuing or that is has finished. That’s it, you are done.
